
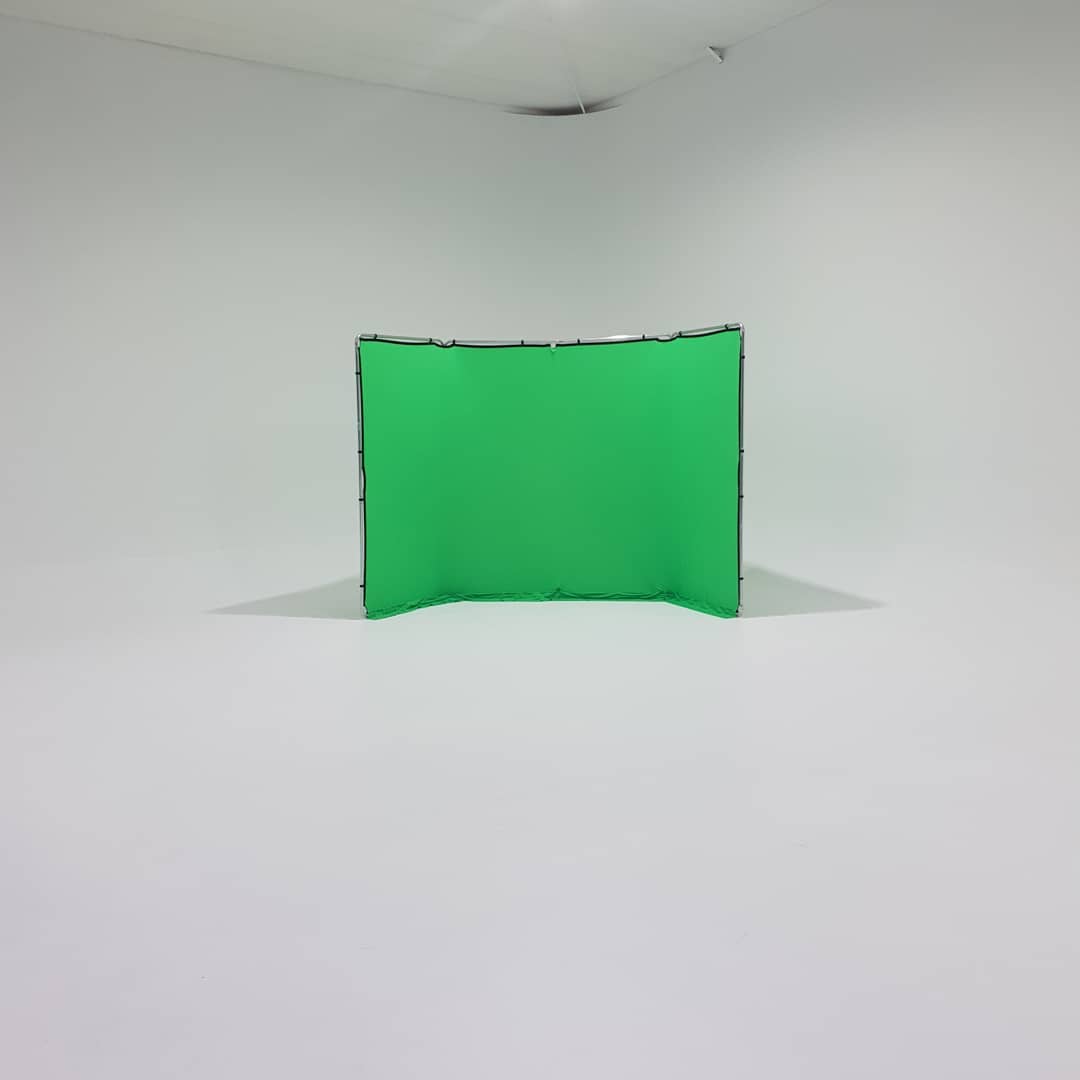
A portable green screen allows you to create a professional-looking video or photo backdrop anywhere. You can use it for a variety of purposes, such as interviews, product demonstrations, instructional videos, and even live streaming.
With a portable green screen, you can easily move your set to different locations without having to build a new set or worry about the environment. This makes it a convenient option for on-location shoots, live events, or home-based studios.Portable green screens are designed to take up minimal space and can be folded up for easy storage. This is ideal for small studios or homes where space is limited.
Here are some tips for using a portable green screen:
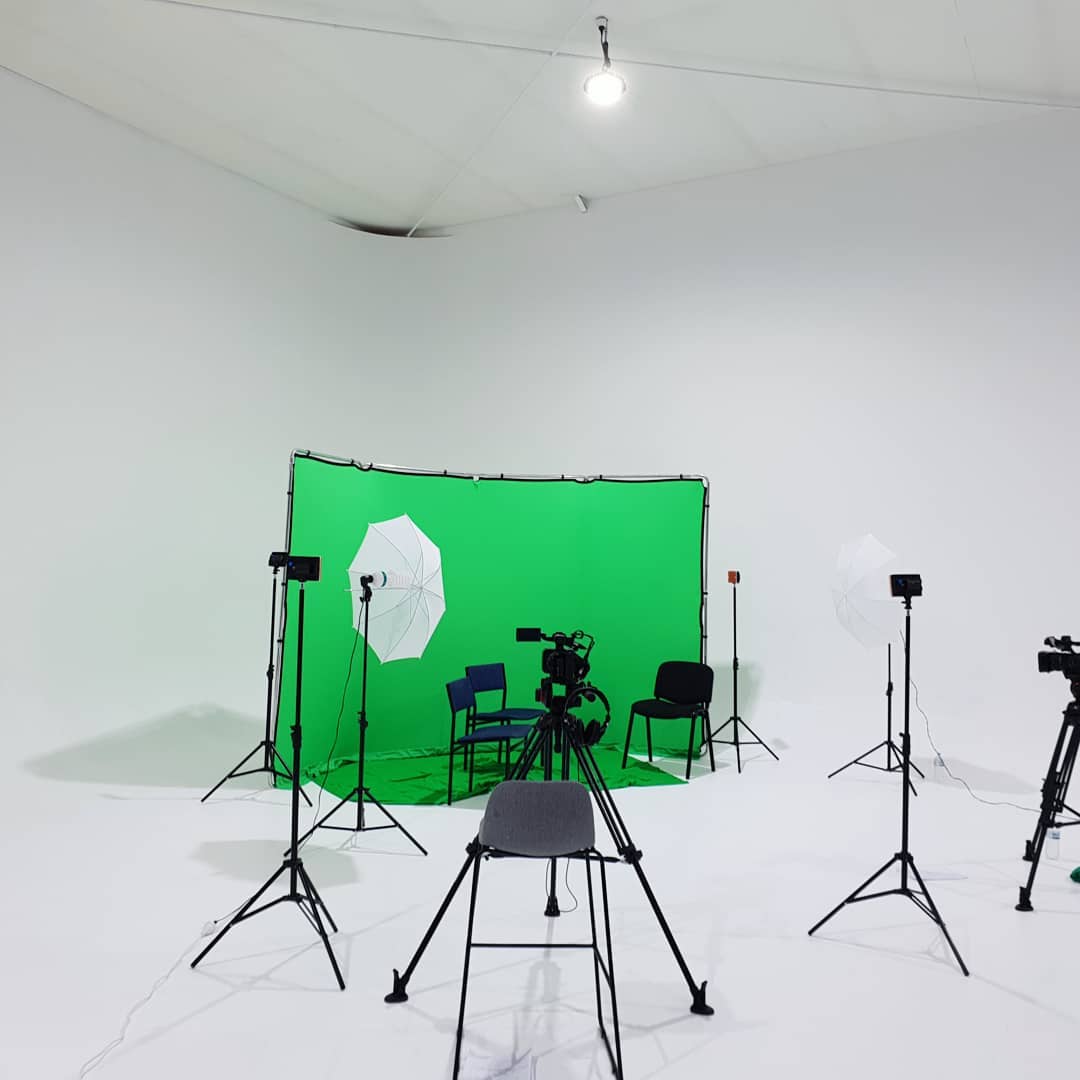
- Choose the right location: Make sure you choose a location that has enough space for your green screen and equipment, and where you can control the lighting. Ideally, you should choose a location with good natural lighting or invest in some studio lighting to ensure you get a consistent and even color on your green screen.
- Set up your green screen properly: Make sure your green screen is set up correctly and is free of wrinkles and creases. This will help you get a clean and even chroma key when editing your footage. Make sure to secure the green screen to a stand or wall to avoid any movement during filming.
- Adjust your camera settings: Adjust the aperture, ISO, and shutter speed of your camera to ensure that you have a properly exposed shot. This will help you achieve a clear and sharp image with a solid green background.
- Use proper lighting: Good lighting is crucial when using a green screen. Use soft, diffused light sources to ensure even lighting across the green screen. Make sure your lighting is consistent and avoid any harsh shadows or glare that can affect your chroma key.
- Position your subject correctly: When filming, make sure your subject is positioned a few feet away from the green screen to avoid any shadows or reflections. This will help you achieve a clean and even key.
- Use a quality chroma key software: There are many different chroma key software options available, so do your research to find the best one for your needs. Make sure to learn how to properly use the software to achieve the best results possible.
- Practice and experiment: Green screen filming takes practice to get right, so don’t be afraid to experiment and try different techniques. With practice, you’ll be able to achieve great results and take your videos to the next level.
A portable green screen is a cost-effective solution compared to building a permanent green screen setup. It allows you to save money on studio space, equipment, and labor costs.
A portable green screen offers you the flexibility to create any background you want. You can replace the green background with any image or video footage in post-production, which gives you endless possibilities for creating unique and creative content. They can help you achieve professional-looking results without the need for a large studio or expensive equipment. With the right lighting and post-production techniques, you can create high-quality videos or photos that look like they were shot in a professional studio.
So there you have it, our tips for using a portable green screen. It can be over whelming but with a little preparation and planning it can be done.
Don’t want to deal with a portable screen, Check out our Purpose built Green Screen Studio.